
I saw a picture on Pinterest not too long ago of the most adorable baby moccasins, so I gave it a shot, with a few tweaks. Here is how it went:
My materials list:
My materials list:
 Leather (I used kid doeskin - you want something soft)
Scrap fabric
Embroidery floss
Upholstery thread
Leather needle (for sewing machine)
Leather needle (for hand stitching)
Scissors
Pattern (I got mine here)
Spray adhesive
Pliers (or even better - a leather punch)
If you'd rather use pleather, or even two
 different types of fabric, go for it!
 The first thing I did was cut out all the pieces of leather and fabric that I needed, using the pattern. I cut fabric for the lining, but I didn't line the top of the moccasin - I wanted to flip out the "fringe" later.
The next step was to adhere my lining to the leather. If you did this with fabric, you would use fusible interfacing, but I thought that ironing leather might be a bad idea, so I took the easier route and sprayed the leather with adhesive and then stuck the fabric right on it. It worked like a charm and three hours later I was ready for the next step.

Using my machine, I sewed the sides of the moccasins together at the toe. Piece of cake. Then I had to sew the sole of the moc to the sides. Not so easy. It's actually kind of impossible to pin leather using the wimpy pins I had, so I'd suggest using binder clips or something to held your pieces together as you sew. Another tip: sew slowly if you are using leather. It's a lot of work for that wimpy upholstery thread and you have fewer breaks if you go slow.
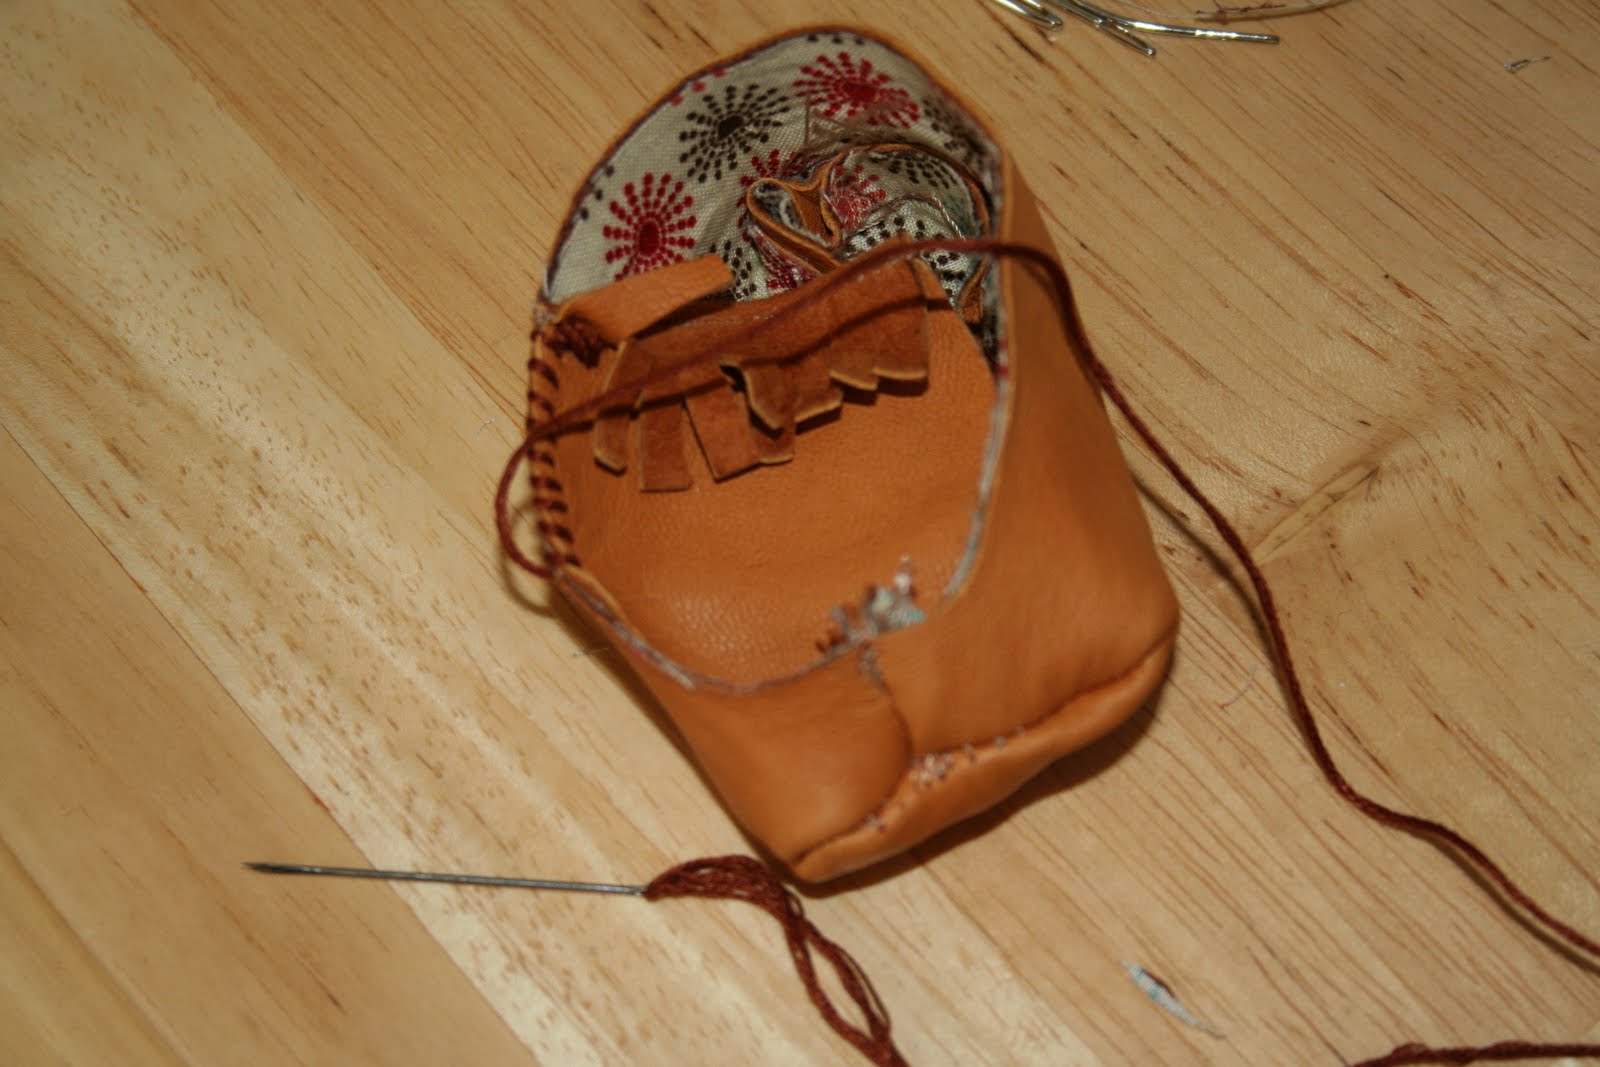 Next I ran a seam across the top piece of the moccasin, to create the flipped out part that I then cut into fringe. How can you have mocs without fringe?!
Then, the time consuming part: hand stitching the top to the sides. This is where it would be beneficial to have a leather punch. However, leather punches are expensive and I wanted to make these mocs NOW, so I opted to push a sharp leather needle through the layers of fabric and leather, then pull it through using a pair of pliers. Like I said, time-consuming, but the effect was pretty adorable if I do say so myself.

Now you go give it a try!
3 comments:
Thats so cool!
not to rain on your parade but you have the toe and the heel backwards...the seam should be on the heal not the tow
heel* toe*
Post a Comment